Guitar Building, Audio Effects, and DIY Resources
←Back to Redwood Audio DSP home
JUCE 4.x for VST Plugin Development (old JUCE 3.x Tutorial)
Need Help with this Tutorial? (Contact Us)
Was this useful? (Consider a Contribution)
Download Tutorial Source Code including built VST or the Source using AudioParameterX Classes
The following setup is done once on your development machine. The instructions assume you are starting fresh / have no other C++ development toolchains or conflicting configurations. The notes here are specific to Windows OS and VST, to configure an OSX build machine with Xcode for VST / AU plugins see the OSX Setup tab.
Also note, while JUCE provides RTAS/AAX support - this requires installing and configuring Avid SDKs which are not available to everyone. The general treatment of VST discussed in this tutorial should be illustrative enough to give an idea of what would be required to setup the other formats.
1. Microsoft Visual Studio 2015 Community
If you already have prefered JUCE compatible IDE (such as Microsoft Visual Studio), please skip to step 2. VST SDK. Otherwise,...
Previous versions of this tutorial recommended Vissual Studio 2010 Express, which may stil be a good option for backwards compatibility. However, the debugging features of 2015 community are on par with Professional versions of the older IDEs (mainly you can "attach to process" which is needed to debug audio plugins). As a result, it is recommended to take the leap forward. Just be warned that in 2015 Community, C++ is not a default language and requires some additional steps to fully support as in previous versions!
Download and install the IDE from Microsoft's download page. So the installer runs smoothly make sure you have all the latest Windows Updates for your machine - and make sure to use a custom installation and enable C++ support. If you forget to do this, your plugin project will fail to load the first time you launch the solution file. When you click reload it will give you the option to install the missing compononets.
Go ahead and register the software with Microsoft to unlock the IDE trial. This can be done as an online process from the help menu, "Register Product". Just click "Check for Updated License" and follow the prompts.
Note: to register the software you will be asked to create a developer account (Free)
Note: RTAS /AAX for windows may require the 2010 libraries, so it may become necessary to install VS2010 Express or the required Windows SDKs to get those building with the current Avid SDKs.
2. VST Software Development Kit (SDK)
Sign up for a developer account through Steinberg (Free)
Download the VST 3.x Audio Plugin-Ins SDK Note that this is different than the ASIO SDK, but you may want that later for your own use.
The VST SDK download consists of a zip file with a root folder of "VST3 SDK" copy this folder to "c:\SDKs\". If you happen to still have your VST 2.4SDK it can be added here as well ("c:\SDKs\vstsdk2.4"). If not, there are the needed files in the Current 3.x SDK. However, by default, the JUCE framework will look at "c:\SDKs\vstsdk2.4" for the needed VST 2.x files and in "c:\SDKs\VST3 SDK" for VST3 plugins. (we will cover changing the default location in the project setup).
While you are at it, the SDKs folder will be a good place to save the rest of the Steingberg SDKs - at some point, you will get curious. It is also not a bad practice to save other SDKs here and begin referencing them through environment variables etc. But that is a topic for another day.
3. JUCE C++ Library and Tools
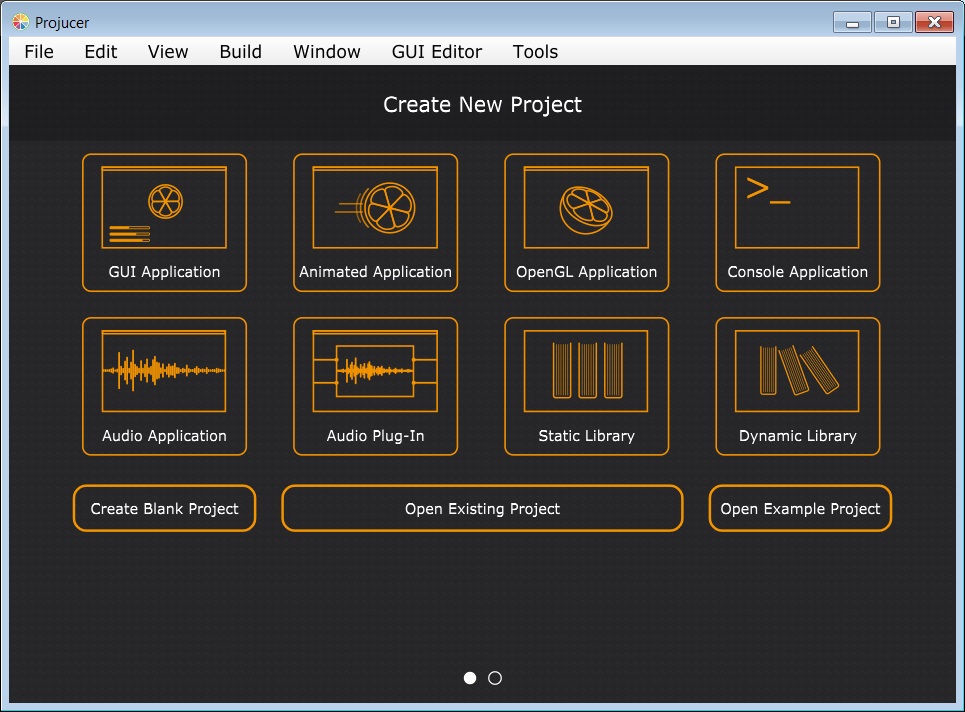
To get started using JUCE, you just need to download the libraries and new Projucer editing tool.
First download the JUCE library from ROLI Ltd. You can still get a zip file of the latest stable release from here, but the main download page at JUCE.com now has easy-to-use zipped downloads with the Projucer precompiled for each platform. I recommend copying the contents of the zip file to the root directory - such that you will now have all your JUCE tools at "c:\juce".
If you did not get the zip with the Projucer precompiled, build the "Projucer" project - now at "c:\juce\extras\Projucer\Builds\VisualStudio2015". Double-Click the *.sln file which will load the Projucer solution in Visual Studio (after accepting a few permision requests). Select "Relase" mode build from the drop-down menu at the top of the IDE and select "Build Solution" from the debug menu. (F7 is generally the shortcut to build a solution once configured as a "C++ developer"). When the build is finished, you will have an Projucer application at "c:\juce\extras\Projucer\Builds\VisualStudio2015\Projucer.exe"
Either way, it is best that you make a shortcut on your desktop or in your development hub as you will use this to make your projects later.
The Projucer will be your one-stop-shop for juce-based project management. You use the introjucer to create new projects, manage your source and project settings, and also install/update/configure JUCE library modules. The JUCE "modules" are collections of base classes and framework needed for supporting various functions and applications such as audio plugins, drivers or graphics.
Once that is all done, you are ready to move on to create new projects. Note that if you update your modules, you may be prompted by the Introjucer to come back and rebuild IntroJucer with the updated source.